Restoring a Brownie Camera: A Step-by-Step Guide
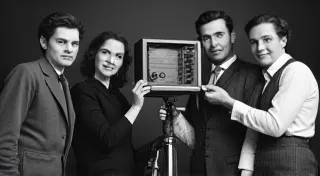
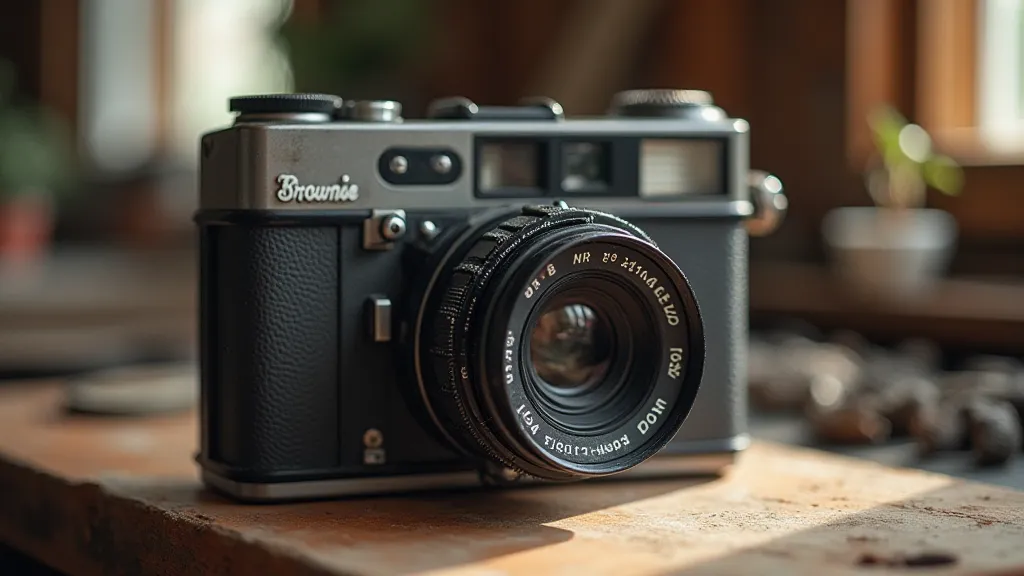
The Brownie camera holds a special place in photography history. These affordable, simple cameras introduced countless people to the joy of capturing memories. Often, vintage Brownies turn up in need of a little TLC. Restoring a Brownie camera isn't a complex undertaking, and with a little patience, you can breathe new life into these classic pieces of photographic equipment. This guide will walk you through the process, step by step.
Assessing the Damage
Before you even touch a screwdriver, carefully examine your Brownie. Note the extent of the damage. Common issues include:
- Leatherette or Covering Damage: Tears, peeling, and general wear.
- Rust: Particularly on the bellows and inner workings.
- Lens Issues: Scratches, haze, or fungus. (Lens restoration is often best left to professionals.)
- Bellows Leaks: A major concern; a leaking bellows means the camera isn't light-tight.
- Mechanical Problems: Sticky shutter, jammed focus, or other functionality issues.
Understanding the severity of the damage will help you decide how far you want to go with the restoration. Some repairs are easy, while others are best left to experienced restorers. To truly appreciate the legacy of these cameras, it’s worth delving into the history of the Kodak Brownie; learning about their impact is a crucial part of understanding their value. Many collectors are particularly interested in identifying and understanding various models – a journey that begins with identifying your specific camera. If you're unsure where to start or wish to learn the nuances of the different Brownie camera models available, exploring a beginner's guide to Brownie camera models is a great starting point.
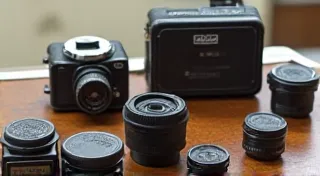
Gathering Your Supplies
You’re going to need some tools. Here's a basic list:
- Small Screwdrivers: A variety of sizes.
- Soft Brushes: For cleaning.
- Cotton Swabs: For detailed cleaning.
- Leather Cleaner & Conditioner: Specifically for vintage leatherette.
- Rust Remover: Choose a product safe for vintage materials.
- Lubricant: Light machine oil or a dedicated camera lubricant.
- Replacement Leatherette (Optional): If the original is beyond repair.
- Tweezers: For handling small parts.
- Gloves: To protect your hands.
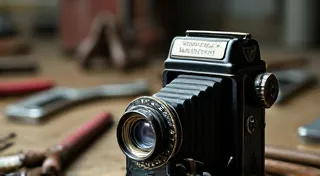
The Restoration Process
- Disassembly: Carefully disassemble the camera. Take pictures at each step to remember how it goes back together! Note the placement of screws and small parts.
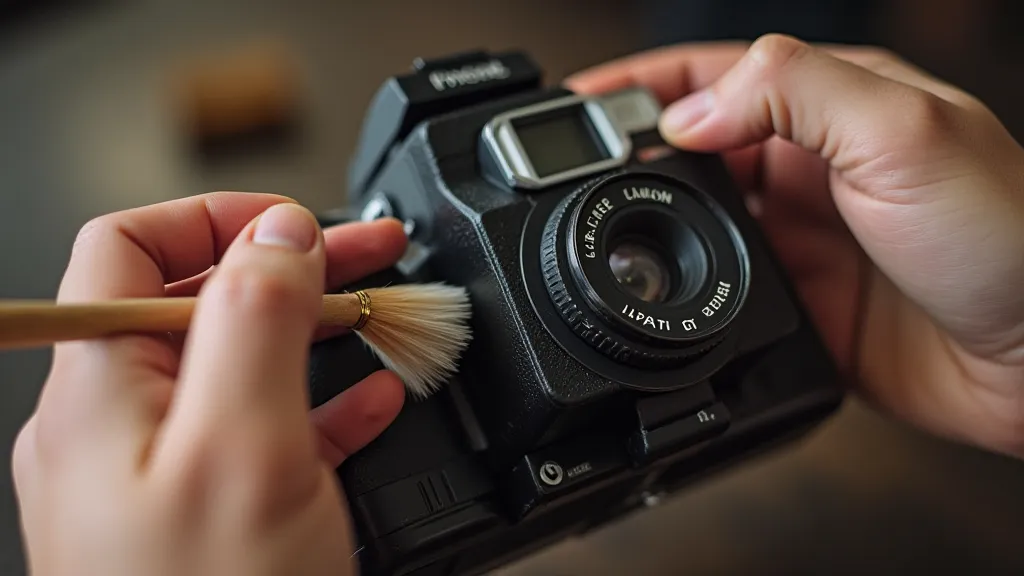
- Cleaning: Use soft brushes and cotton swabs to gently remove dust and grime. Clean the lens exterior carefully.
- Rust Removal: Apply a rust remover to affected areas. Follow the product instructions carefully and test a small, inconspicuous area first to ensure it doesn't damage the finish. Careful consideration should be given to the materials used in the restoration process, and a deeper understanding of the camera's construction will inform your approach.
- Bellows Inspection: This is critical. Gently expand and contract the bellows. Look for pinholes or tears. If the bellows are damaged, they need to be replaced (a challenging task). This is often the most daunting repair, requiring a skilled hand and specialized materials to ensure a light-tight seal.
- Lubrication: Apply a tiny amount of lubricant to moving parts, such as the shutter mechanism and focusing lever. Avoid over-lubrication, as excess oil can attract dust.
- Leatherette Repair/Replacement: Minor tears can be repaired with leather glue. If the leatherette is severely damaged, consider replacing it. This requires skill and patience, as you'll need to carefully remove the old covering and apply the new one smoothly. Many vintage cameras display unique characteristics based on the materials and techniques used in their original construction, and preserving these details is often a key consideration for collectors.
- Reassembly: Carefully reassemble the camera, referring to your photos and notes from the disassembly process.
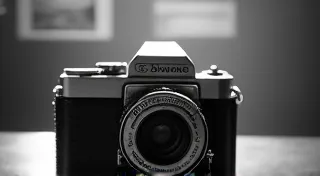
Delving Deeper: Brownie Models and Valuation
Before you dive into restoration, it's helpful to understand the nuances of different Brownie models. Identifying your camera accurately is the first step, and several variations exist with unique characteristics. These variations can dramatically affect a camera's value and historical significance. Knowing that a particular model was produced in limited quantities or featured a unique design element can significantly increase its desirability among collectors. If you're planning to participate in auctions or hoping to find a rare model, check out our guide to finding Brownie cameras for auction tips and best practices. Knowing what you've got is crucial to determining its historical significance and potential value.
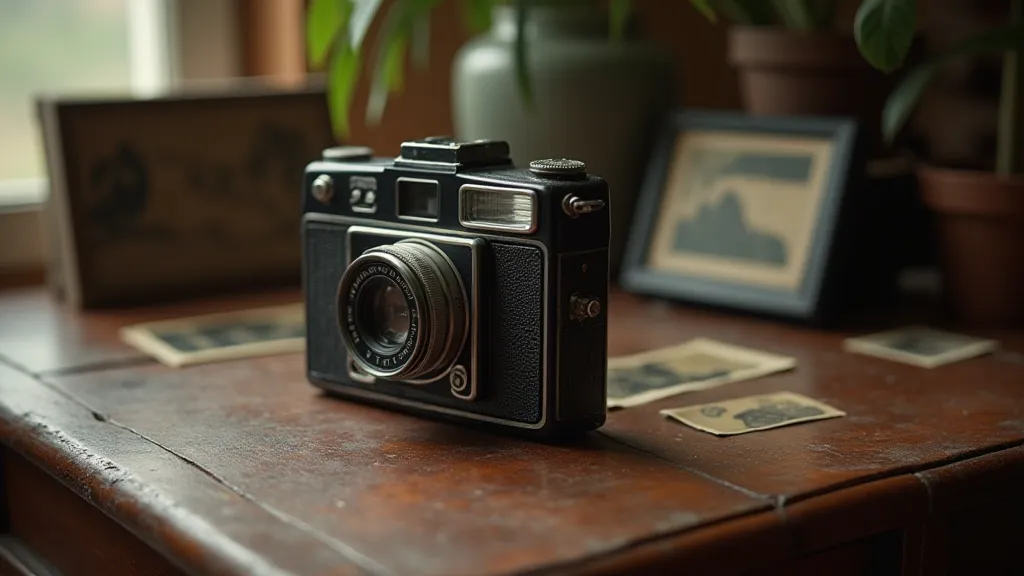
The value of a vintage Brownie camera isn't solely based on its functionality. Several factors contribute to its worth, including its model, condition, rarity, and original packaging. Collectors actively seek out cameras in pristine condition, especially those with original boxes and instructions. Even if your camera isn't a pristine example, understanding these valuation factors can help you appreciate its significance. A camera’s history—including its provenance or any documented ownership—can also significantly impact its value. You can also research valuing your vintage Brownie camera to learn how to determine its price. Understanding the nuances of market trends and collector preferences can help you make informed decisions about restoration and potential sale.
Important Considerations
- Originality: Consider the value of originality. While restoring functionality is important, extensive modifications can decrease the camera's historical value.
- Lens Care: Don't attempt to clean the inside of the lens. This requires specialized equipment and expertise.
- Bellows Replacement: Replacing bellows is difficult. If you’re a beginner, it’s best to leave this to a professional.
- Patience: Restoring a vintage camera takes time and patience. Don't rush the process. The restoration process is a journey, not a race. Taking the time to research and understand each step will yield the best results.
Restoring a Brownie camera is a rewarding experience. Not only will you preserve a piece of photographic history, but you'll also gain a deeper appreciation for the ingenuity and craftsmanship of these classic cameras. The process can be tricky, but with the right approach and some careful attention to detail, you can bring a piece of photographic history back to life. Knowing the different variations available is key; if you're unsure which model you have, exploring a beginner's guide to Brownie camera models can be incredibly helpful. Beyond functionality, the aesthetic appeal and historical context significantly contribute to a camera’s overall value and desirability.
Disclaimer: This guide provides general information. Specific restoration techniques may vary depending on the particular Brownie model. Always research your specific camera and proceed with caution.